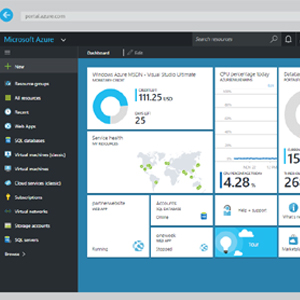
Hi guys today we are going to discuss on how to deploy existing project or website on Microsoft azure from visual studio.
Prerequisites
- You should have active subscription on Microsoft azure
- You should have project ready for deployment
Settings on Azure Portal
- Login to Microsoft Azure portal
- Choose your web app from dashboard previously known as website on old azure portal
- On the overview page top you will find Get Publish Profile Click on it to download the publish profile of your web app on azure.

- Save it on your system.
Deployment from visual studio
- Open the project in visual studio which you want to publish
- Right click on the project and choose publish

- Choose Import and browse to the publish profile file that we downloaded from azure


- After importing choose validate connection to check the connections from visual studio to azure

- After Validation it will show a green check as shown below

- Now click on publish button to publish your project on azure

- Visual studio will show errors if there are any, fix them and again follow the same process. Once it builds properly, it will be deployed on azure. Success message will be displayed in visual studio once it is deployed successfully on azure.
- You can see and run it by using your app url.
Note: There are lot of settings and configurations of azure that we can do while publishing or before publishing. Please feel free to comment and ask questions so that we can do a tutorial on those settings. You can also see the tutorial on Deployment of multiple projects in single azure web app
Happy Coding 🙂


